I’m going on a backpacking trip next week for about 5 days and wanted to take my old zip line with me but it wasn’t in good shape after 3yrs of use. So I decided to make a new one and see if I could improve it. The old one had plastic wheels and a plastic mounting block which didn’t hold up over time. This new one is all metal 🙂
First I went to Lowe’s hardware store and but some materials. I spent about $8 total I think.
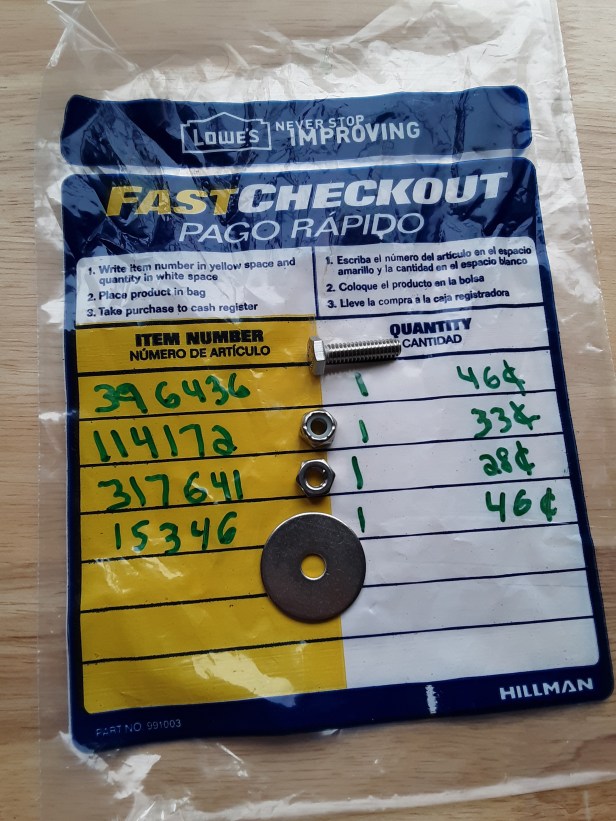
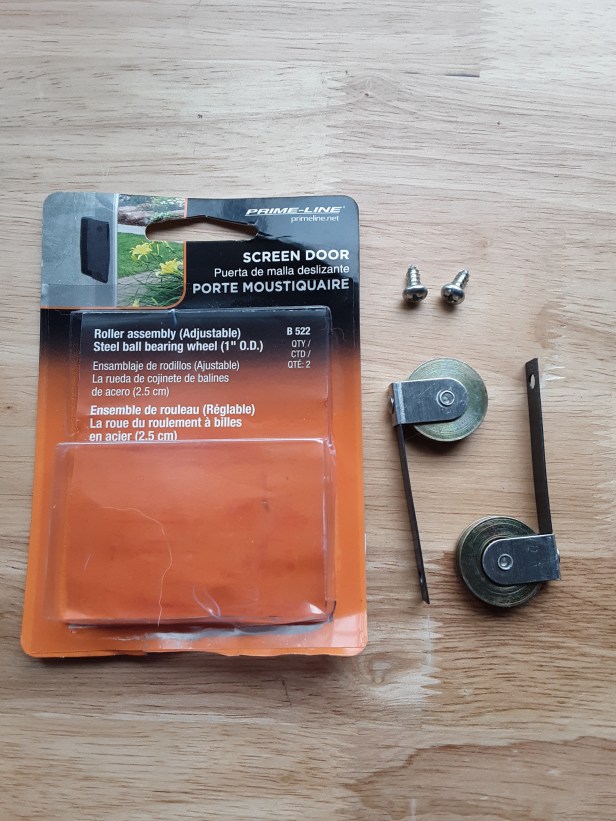
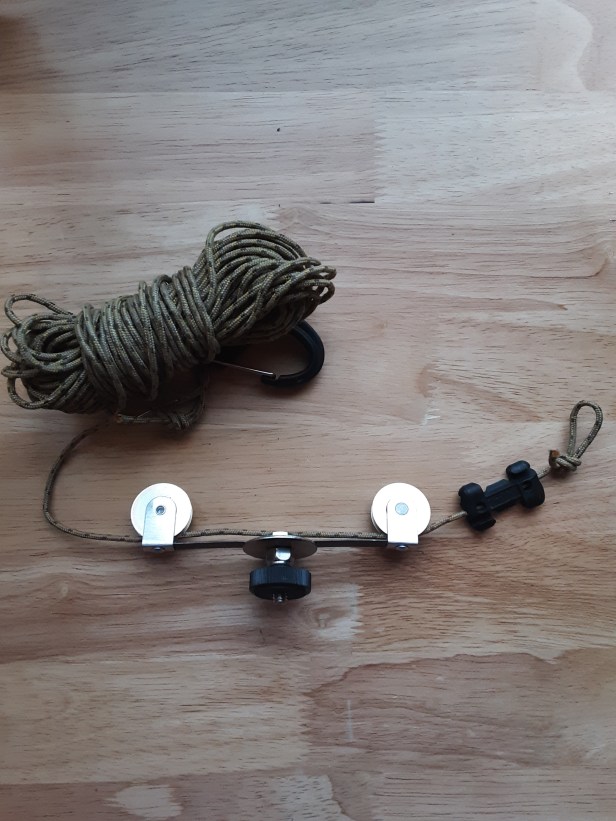
A standard camera mount screw is 1/4 – 20. So I got a machine screw that size and 1 inch long, a lock nut, and a 1 inch washer. I also got a pack of replacement wheels for screen doors. (Don’t cheap out on the wheels!)
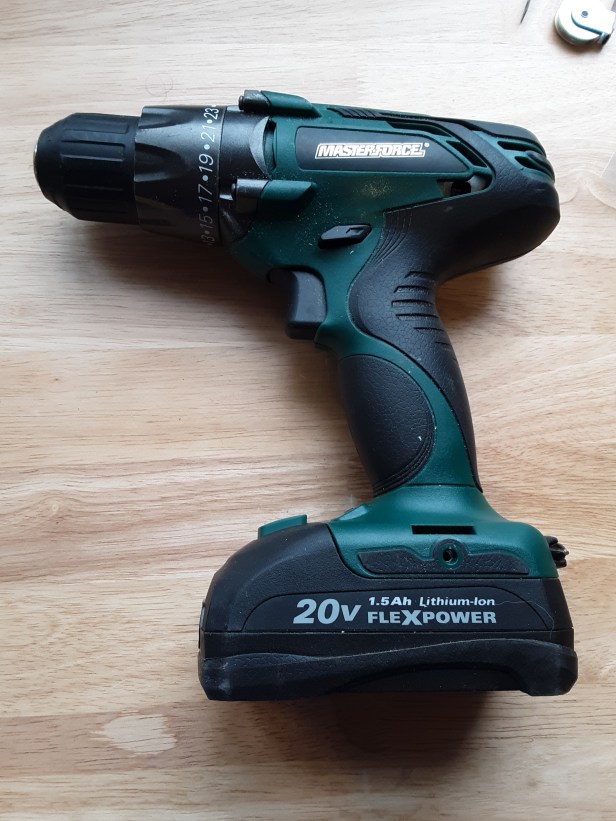
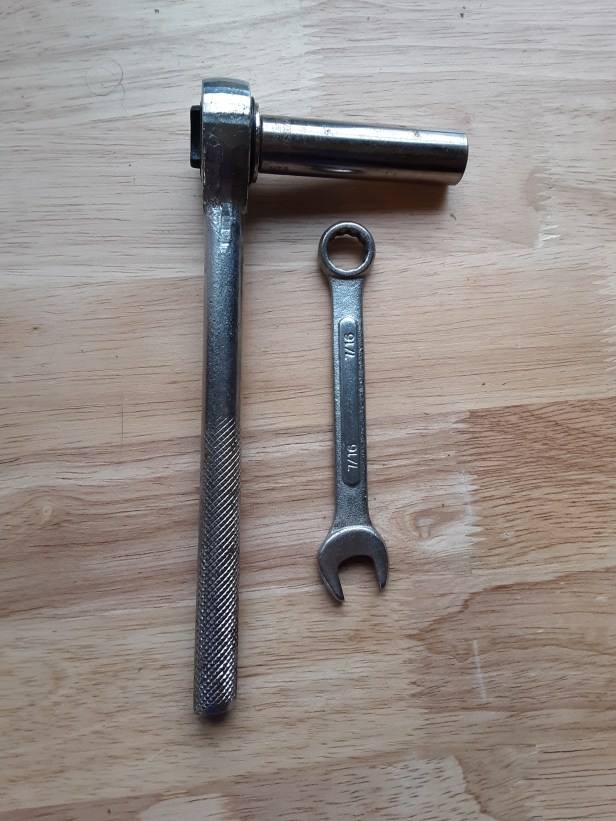
Brought it home and gathered my tools needed. I used a 1/4 inch drill bit, cordless drill, and a 7/16 wrench, plus deep well 7/16 socket/ratchet. The head of bolt and nut are 7/16th but the thread is 1/4…

I drilled the holes in the wheel mounts to allow the bolt to fit through them. Next I bolted it altogether with the washer and lock nut…


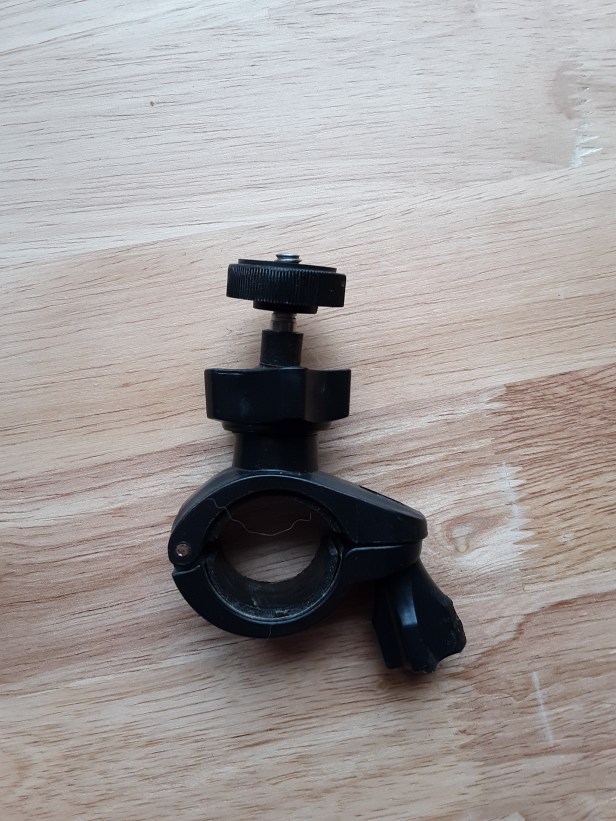
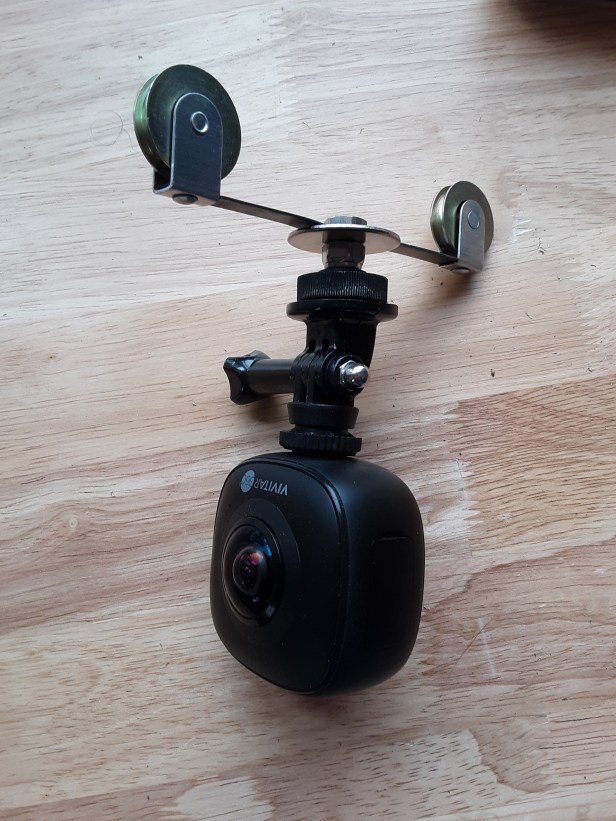
Now I got an unused camera mount and removed the thumb wheel tensioner from it to use with the zip line and added it…
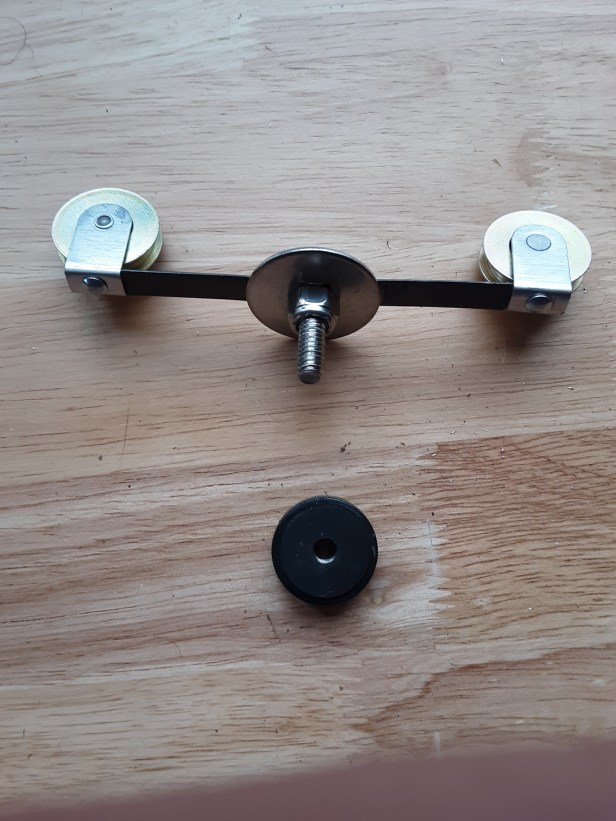

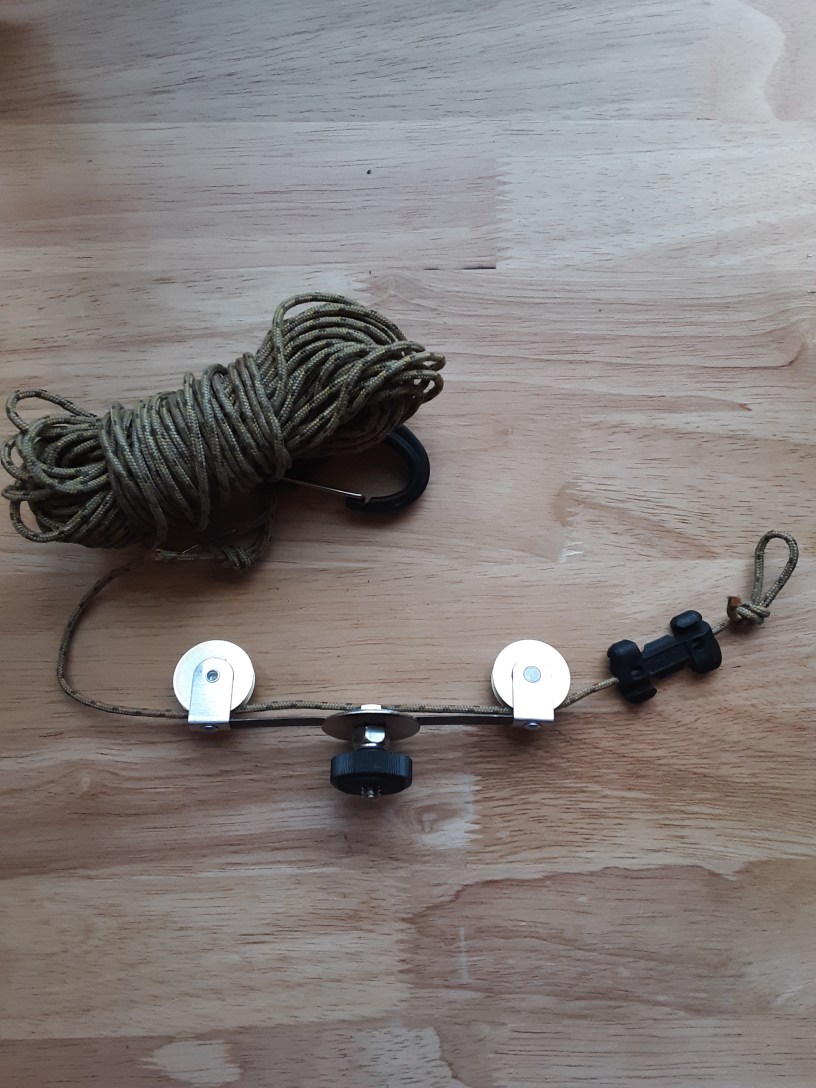
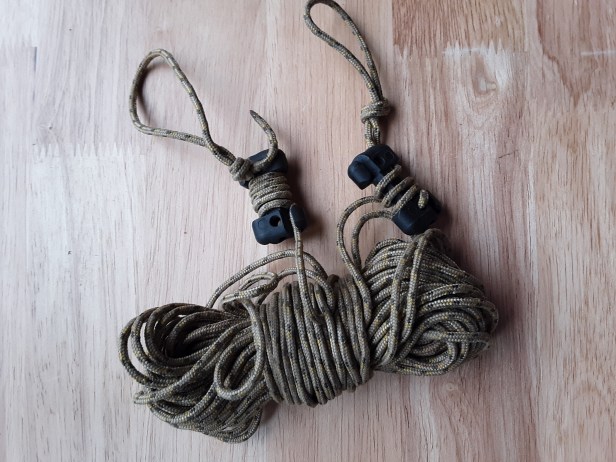
Now add the cordage and slightly bend the wheels upwards away from the washer in the center. This keeps the cordage from rubbing the device…
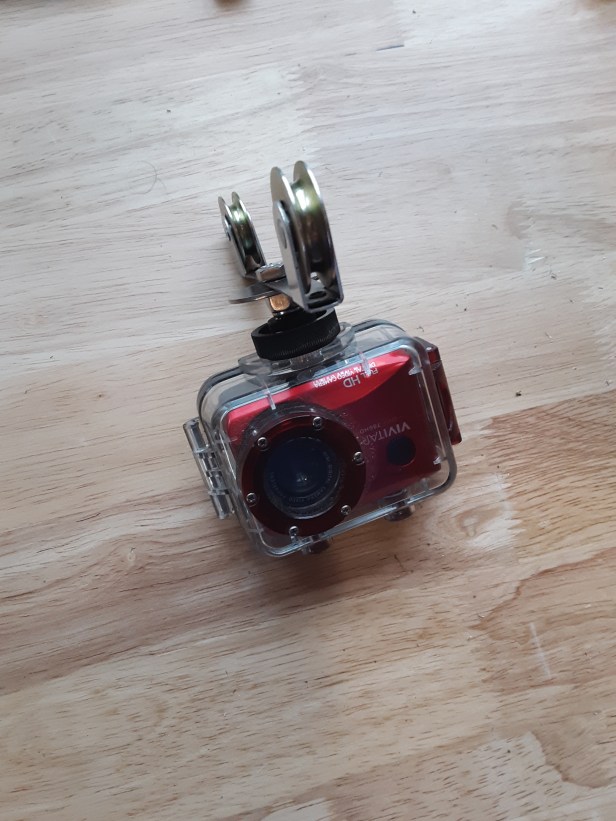
Attach what ever cameras you have now. Remember to use a camera that you can rotate the image upside down so it records right side up 😉 Or you will need software to do so when editing…


Now it’s off to the yard to try it out!
And there you have it folks! My homemade camera zip line. Look for videos using it from my upcoming backpacking trip!
