
This is a look at my current hammock setup. Each piece has been selected over time based on trial and error of other pieces and personal experiences. This current setup is my favorite at the moment but do expect it to change over time.
Lets start with how I treat my hammock setup shall we…
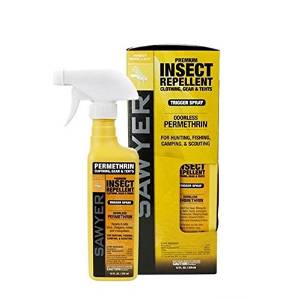
I use Sawyer brand Permethrin because it is a once a year treatment that will keep all the insects and such away from you while you sleep. It costs $10 per bottle and takes almost 2 bottles to treat the entire setup I am going to show you here.
Now for my hammock setup…
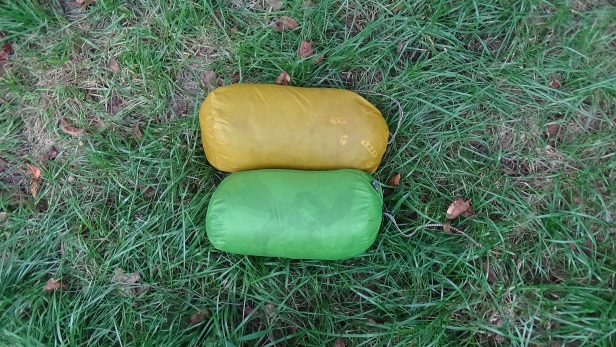
These are the gear bags from Granite Gear that I use to stuff/store my hammock system in my backpack. They cost $9 each from Granite Gear.


The ENO Double Wide Hammock (on left) I have used on my hikes for the last 6yrs. It costs $70 from ENO.
The ENO Guardian Bug Net (on right) is great for buggy locations and lightweight. It costs $60 from ENO.
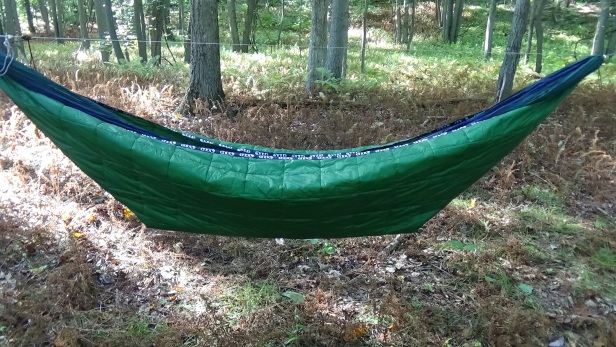
This is called an “Under Quilt” and great for cooler nights in a hammock. This one is called the ENO Ember under Quilt for $120. ENO has a newer version called Ember 2 for $100. I primarily use it for fall and spring. I want to upgrade this to another quilt that you will see here in the next pictures.


This is a look at my “Top Quilt”. I use it fall, winter, & spring. This top quilt is called “Old Rag Mountain” from “Jacks-R-Better” and costs $370. It is an 800 fill down so it needs to be treated with water proofer if you expect it to get wet. This is the quilt I want to get a second of to replace my under quilt. This quilt can be used as both a top or bottom. I love the one I have and will eventually purchase a second.
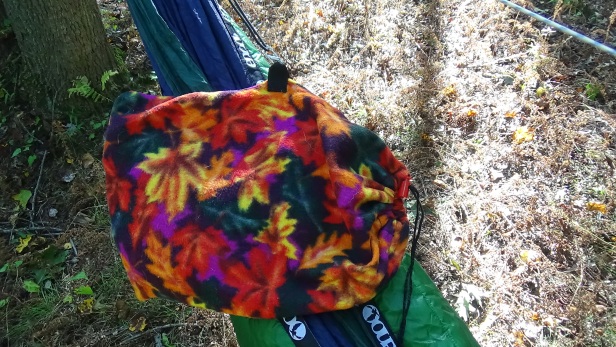
I made my own homemade pillow case for use in my hammock. It has a bungee cord that attaches to the end of the hammock that can be adjusted for length. This prevents it from falling down your back when shifting and moving around keeping it right where you want it. It cost me about $3 to make out of fleece.


Top left is called a “Whoopie Sling” it costs $18 for a pair and they are attached to the ends of the hammock. One end is a fixed loop and the other is an adjustable loop. You use these to hang your hammock and quickly make adjustments to get the most comfy hammock fit. They are found at Jacks-R-Better.
Top right and bottom left are the miniature climbing D-Rings used for attaching the whoopie slings to the tree straps. They hold lots of weight and are reliable. These D-Rings allow you to add other items to hang and make fast adjustments. They cost around $10 each. They are found at Jacks-R-Better as well.
Bottom right picture is of another Jacks-R-Better product called “Tree Saver Straps”. They are for wrapping around the tree and connect to the D-Ring. These straps are 1 inch wide and 6 feet long. It is important to use straps like these rather then cordage because they do not harm the tree or leave marks. This is really important when hanging from soft bark trees. This set costs $9 for 2 straps.


This is my tarp. It is the ENO House Fly. It is my all time favorite tarp because it has doors on the sides that can be closed or left open as seen here. The bottom picture is showing the tarp in what we call “Porch Mode” by using my trekking poles to hold up the corners. This tarp is great to use when you expect heavy rains or winter storms or just want an enclosed space to change your clothes. You would expect to pay a lot for a tarp like this but it is actually a great price at $140. It comes with all the tie-out lines required for setting up as well. This is my go to tarp for basically every occasion.
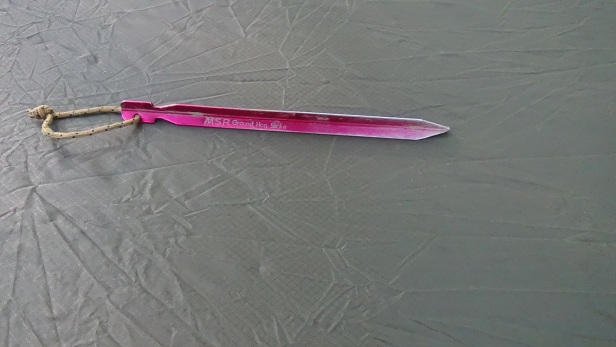
Of course this setup requires a few stakes to tie it out. For those I generally rely on these MSR Ground Hog Stakes at $2 each. They are great for most soils except sand or snow. I carry 8 total but usually only need 4 for a basic setup or all 8 if I want to get fancy with the tarp.
This is basically my hammock setup. I do have a homemade under quilt I didn’t get a chance to photograph and a weather guard I made for under the hammock as well. You can see those in several of my backpacking videos though.
The total cost of everything seen here in my setup not including tax or shipping is $864. When I get my under quilt upgrade the cost will go up to $1114. Every penny is worth the comfort I feel.

I picked up a Snugpak hammock cuz my surplus store that I shop was OUT of the Eno’s, doh!! Anyway, the Snugpak is UK military specs and grade. It’s coyote in color, which is better than black, imo. I bought the Jungle hammock with bug net. The owner said it’s then next best thing to a Eno; that’s why they carry it. Also, I bought it because survival camp is starting and I had a had a gift cert. for the store and only ended up paying a bit over $2 for the hammock and some supplies. I’m happy with the purchase because I trust the owner there. Known him since 2009. Can’t wait to try it out.
LikeLike
Well it should be fine for your first hammock. And for $2 you cant go wrong no matter how you look at it as long as you get a couple nights with it 🙂 Get some video of it. Remember I am just biased for ENO because I have used them for so long and they have worked well. Doesn’t mean there are not others just as good.
LikeLike
My DD 3x3m tarp arrived this morning, and the forecast is reasonable after tomorrow, so it looks like my hammock will be getting its second test run. Hopefully, I’ll hang it better this time…
LikeLike
Good luck. Remember the diagram I shared and start there then adjust to comfort.
LikeLike
The insect repellent is sprayed on all sleeping gear exterior or just the netting? Assume it would be used on the exterior side of garments including hats, socks, gloves, etc.
LikeLike
It is washed into ALL fabric items. Once it dries it lasts all season long and has no affect on you. You can’t smell it or taste it or see it. I wash everything then before it goes into dryer I hang on clothesline damp. Then I spray everything down with the permithryn. I let it hang dry. Make sure no cats come in contact with it during this process or for 24hrs. After that it is safe for cats. I don’t use on bandanas, underwear, washcloths or towels simply because it isn’t needed there. The inside of garments isn’t necessary when applied to wet garments because it is absorbed throughout the fibers. Hope that helps 🙂
LikeLike